Juno Orion AWS EC2 Instances via Crossplane
Managing your AWS EC2 instances has never been easier with Orion and Crossplane.
What is Crossplane?
Crossplane extends Kubernetes to manage cloud infrastructure including AWS EC2 instances. Allowing you to run AWS EC2 instances alongside containers.
Getting Started
In this guide we will walk you through the following:
- Installing Crossplane, the Crossplane AWS provider, and our Crossplane EC2 workload
- Launch and connect to an EC2 workload template
If you are new to Orion, please see our getting started docs before following this guide.
Step 1: Install the Crossplane Plugin
Start by installing the Crossplane plugin from the Terra Official Plugins repo.
Important
Install this plugin FIRST. The provider and workload plugins require Crossplane to be installed.
Note
If you already have Crossplane installed you can skip this step
1. Navigate to the Terra App Store
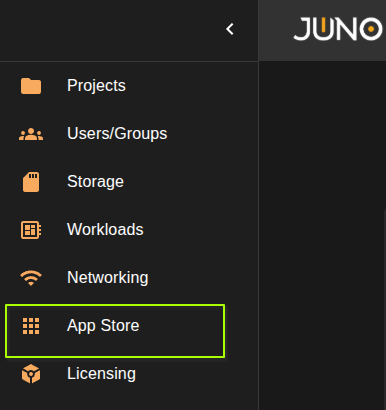
2. Install Crossplane
Search for the Crossplane plugin in the Terra App Store.
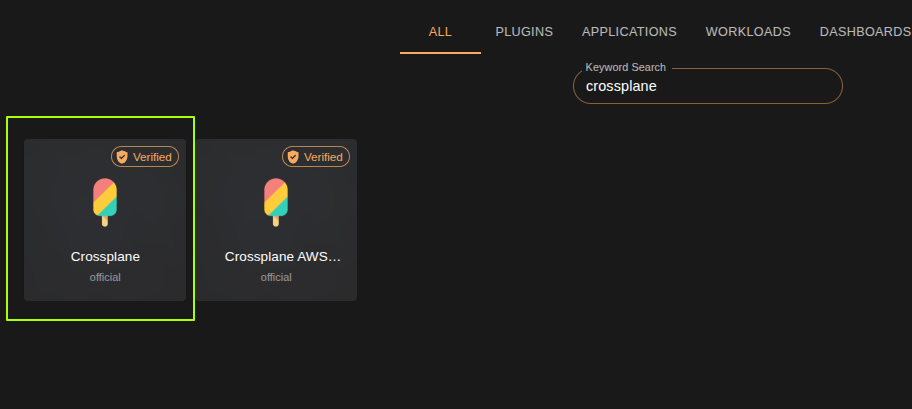
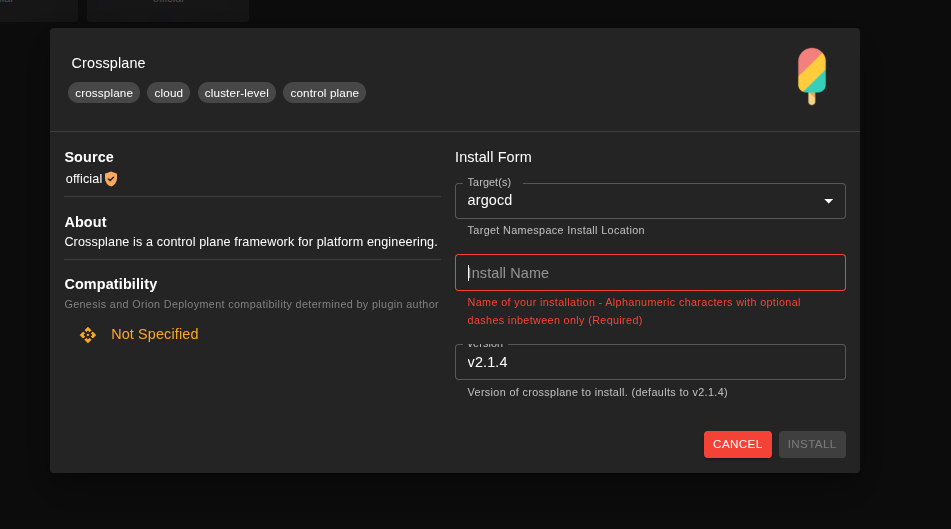
Once found, select the plugin, fill out the form and click Install
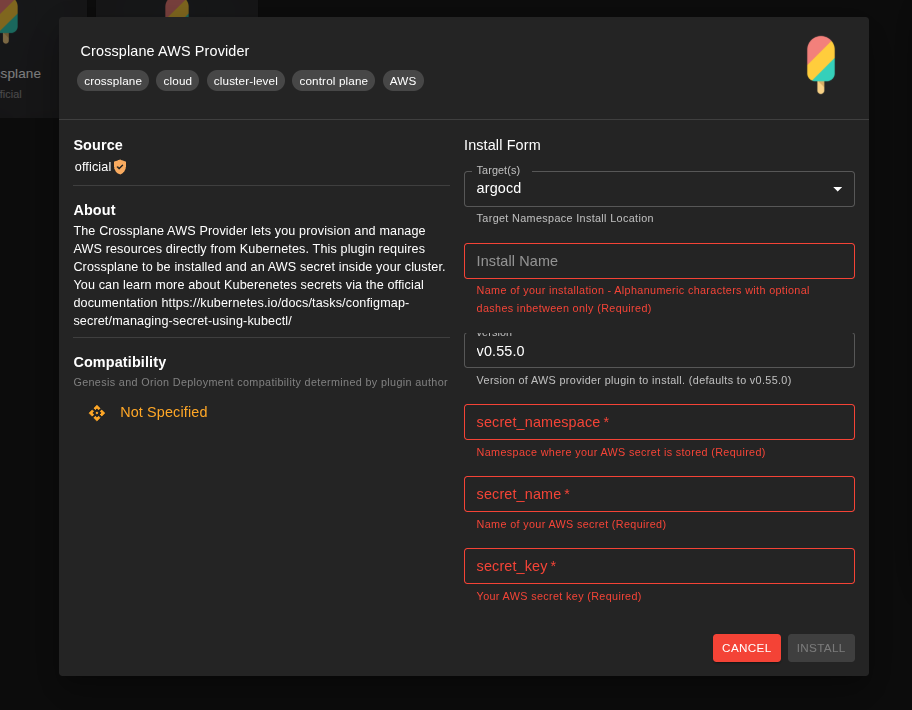
Step 2: Install the Crossplane AWS Provider plugin
This plugin installs the AWS kubernetes Provider and ProviderConfig, providing a way for Crossplane to communicate with your AWS account. The AWS Provider will include all the AWS Kubernetes API groups, and the ProviderConfig will store your AWS credentials in a secret, which will then be referenced when making calls to your AWS account.
Important
Install this plugin SECOND. It requires Crossplane to be installed first.
Note
If you already have a Crossplane AWS provider installed you can skip this step
1. Navigate to the Terra App Store
2. Install Crossplane AWS Provider
Search for the Generic Ephemeral VM plugin in the Terra App Store.
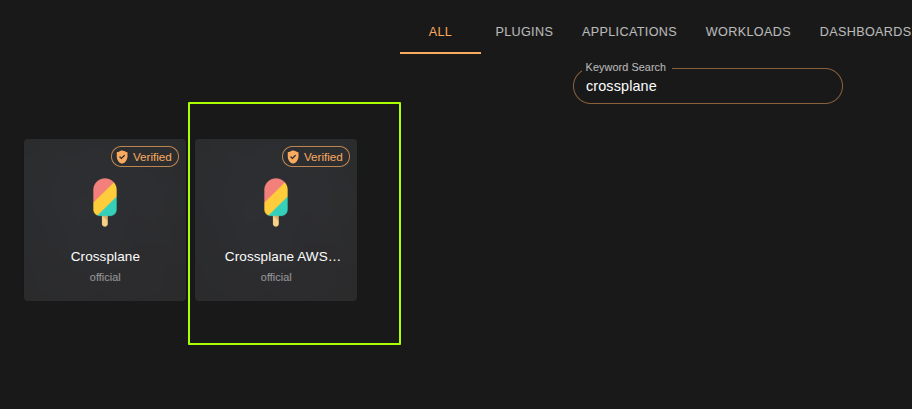
Once found, select the plugin, fill out the form and click Install
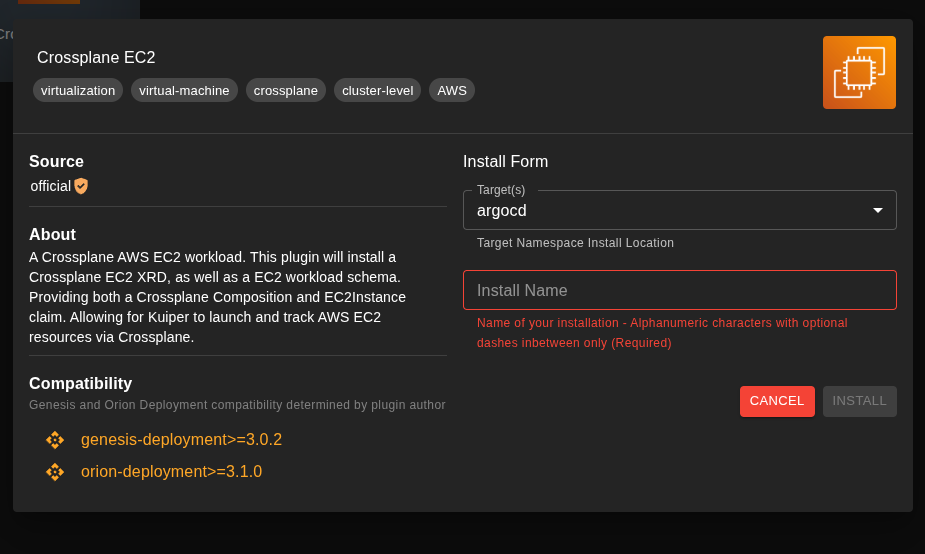
Step 3: Install the Crossplane EC2 Workload Plugin
1. Navigate to the Terra App Store
2. Install Crossplane EC2
Search for the Crossplane EC2 plugin in the Terra App Store.

Once found, select the plugin, fill out the form and click Install
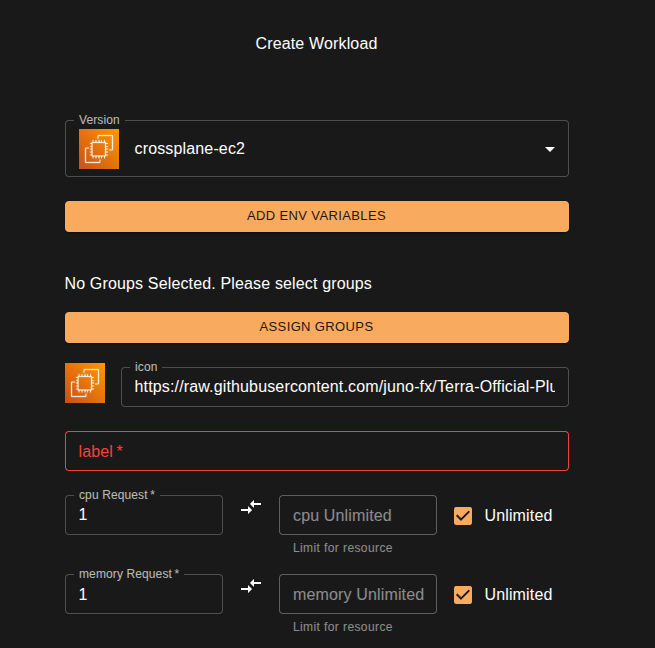
Step 5: Create the EC2 Workload Template
1. Navigate to the Workload template Creation Form
- From the Genesis Workloads table, click Create Workload
- Select the EC2 schema you installed in the previous step.
2. Fill Out the Standard Fields
Fill out the standard workload fields, and ensure you assign the template to a project group.
2. Fill Out the AWS Specific Fields
Fill out the AWS EC2 specific fields. Once complete click submit
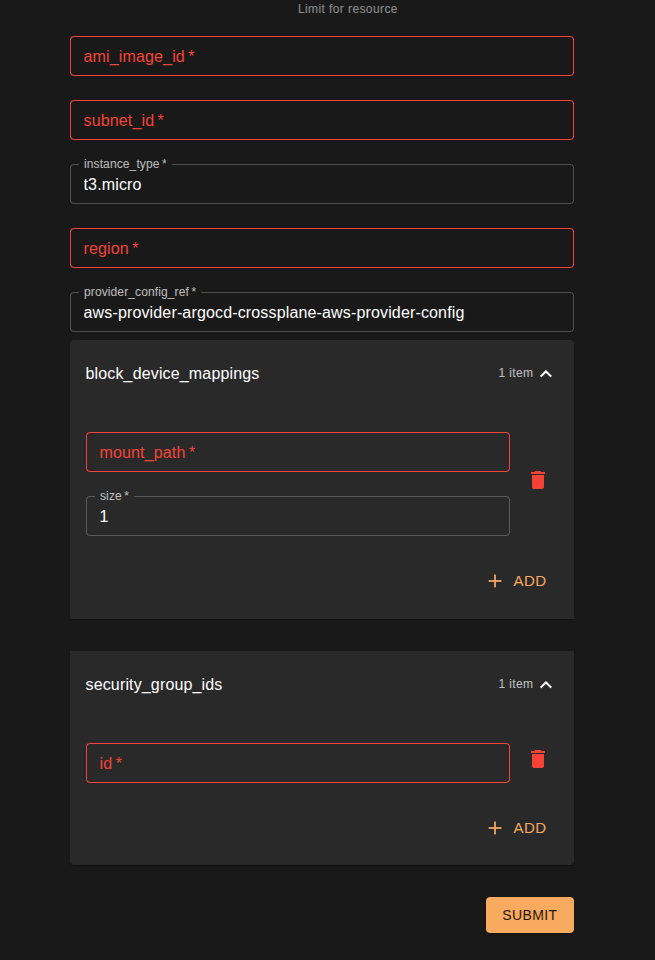
Important
Please ensure your AWS security groups allow connections from a user to the EC2 instance
Step 5: Launch Your Workload
1. Launch Workload
- Navigate to the project you have assigned your new EC2 Workload.
- Navigate to the Workloads table in Hubble
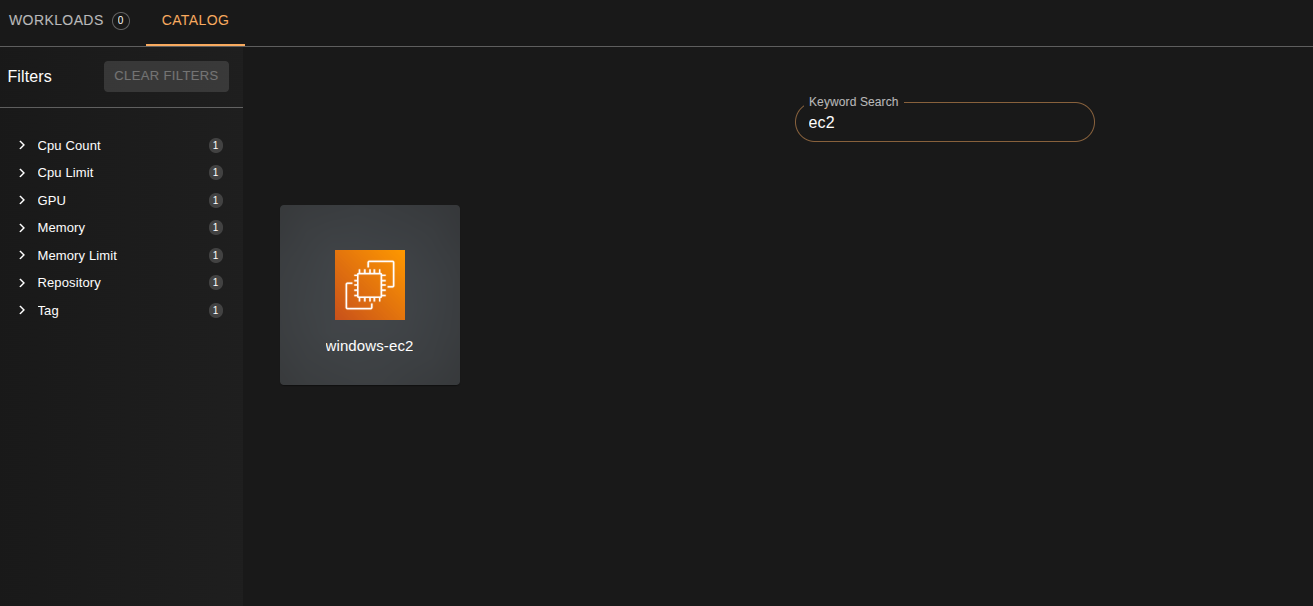
- Click Request to open the catalog
- Find your EC2 workload and click Create
Step 6: Connect to the EC2 Instance
Once the workload shows as ready, click the Connect button. For this particular workload you will be presented with dialog box showing you the connection information.