User Management
Note
User management is restricted to members of 'admin' and 'titan' user groups. Each table will have a help icon located on the top right of the table. Click this icon to start the help stepper.
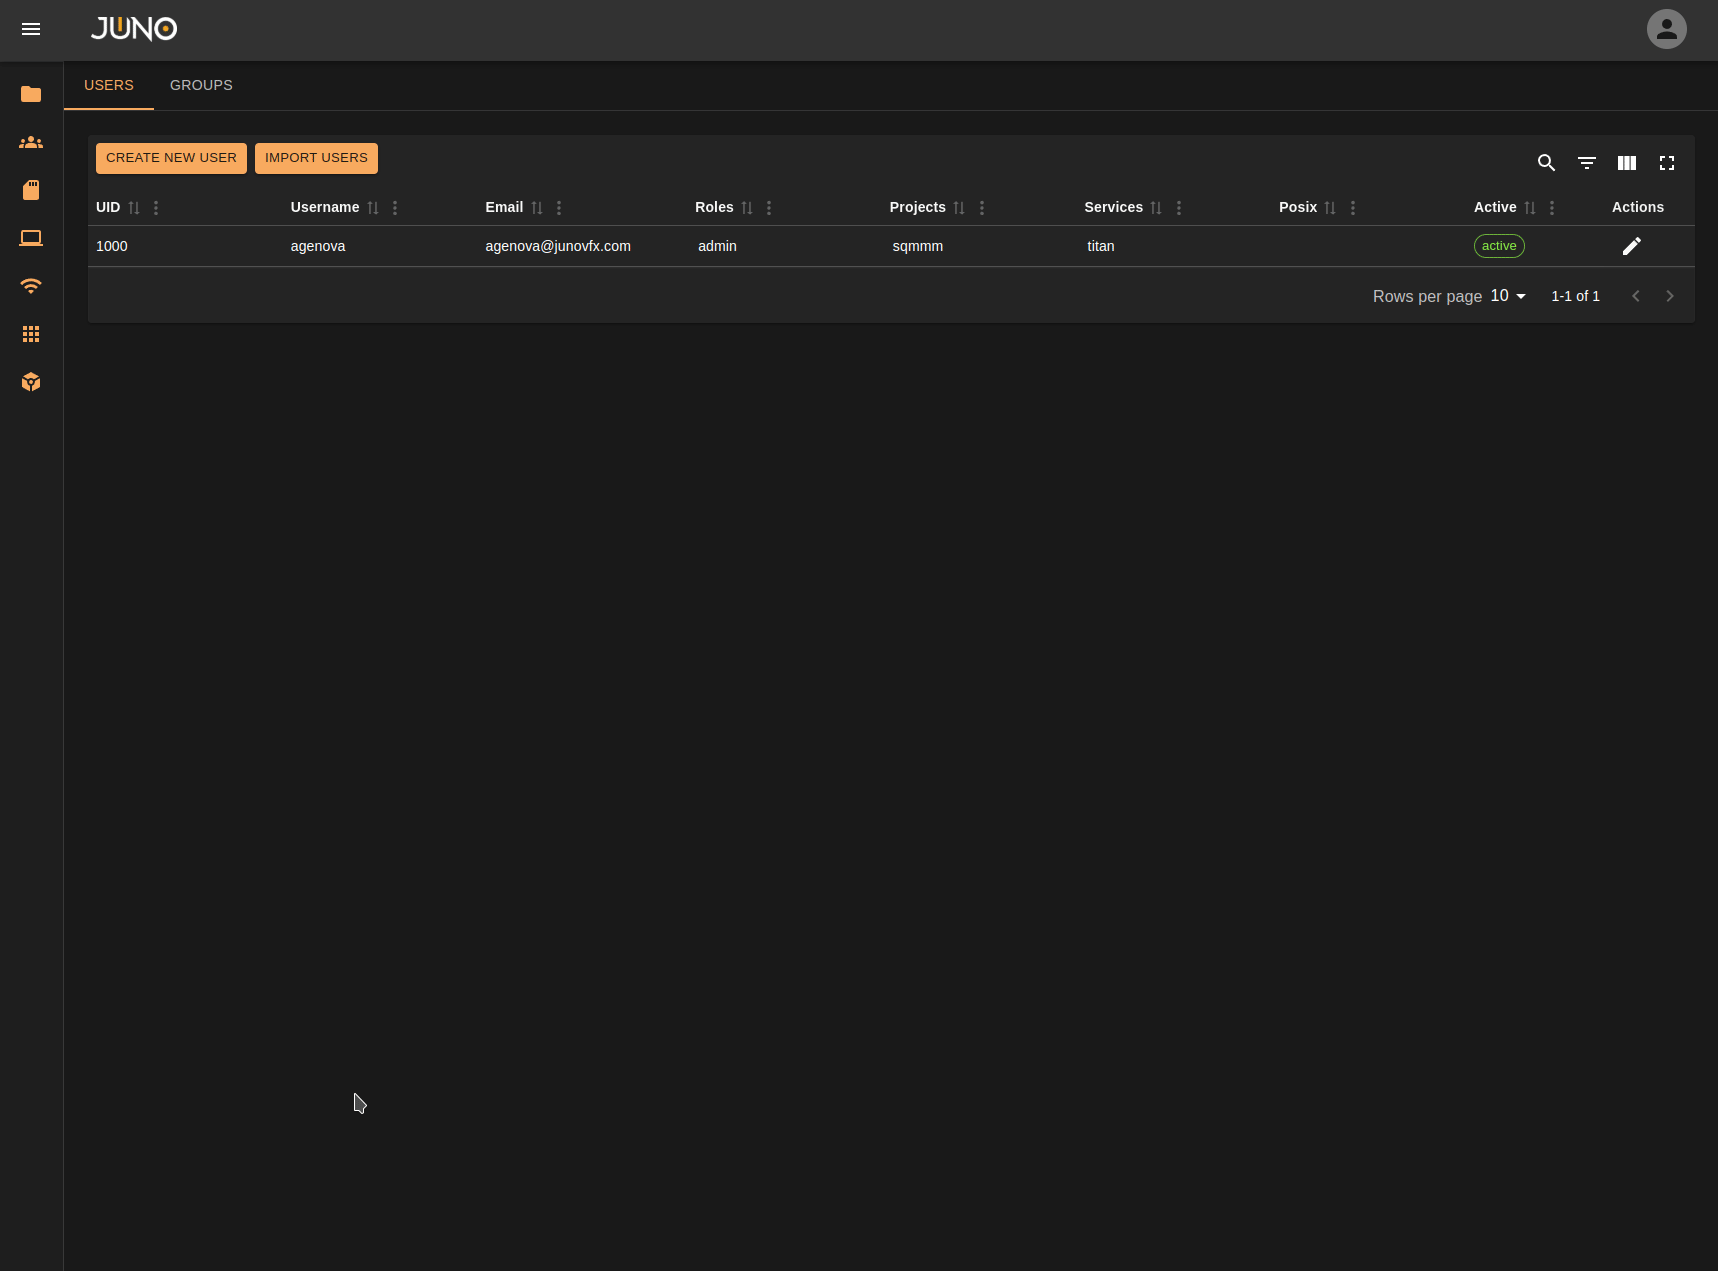
The user management page allows users to oversee and manage all users and groups.
User Creation
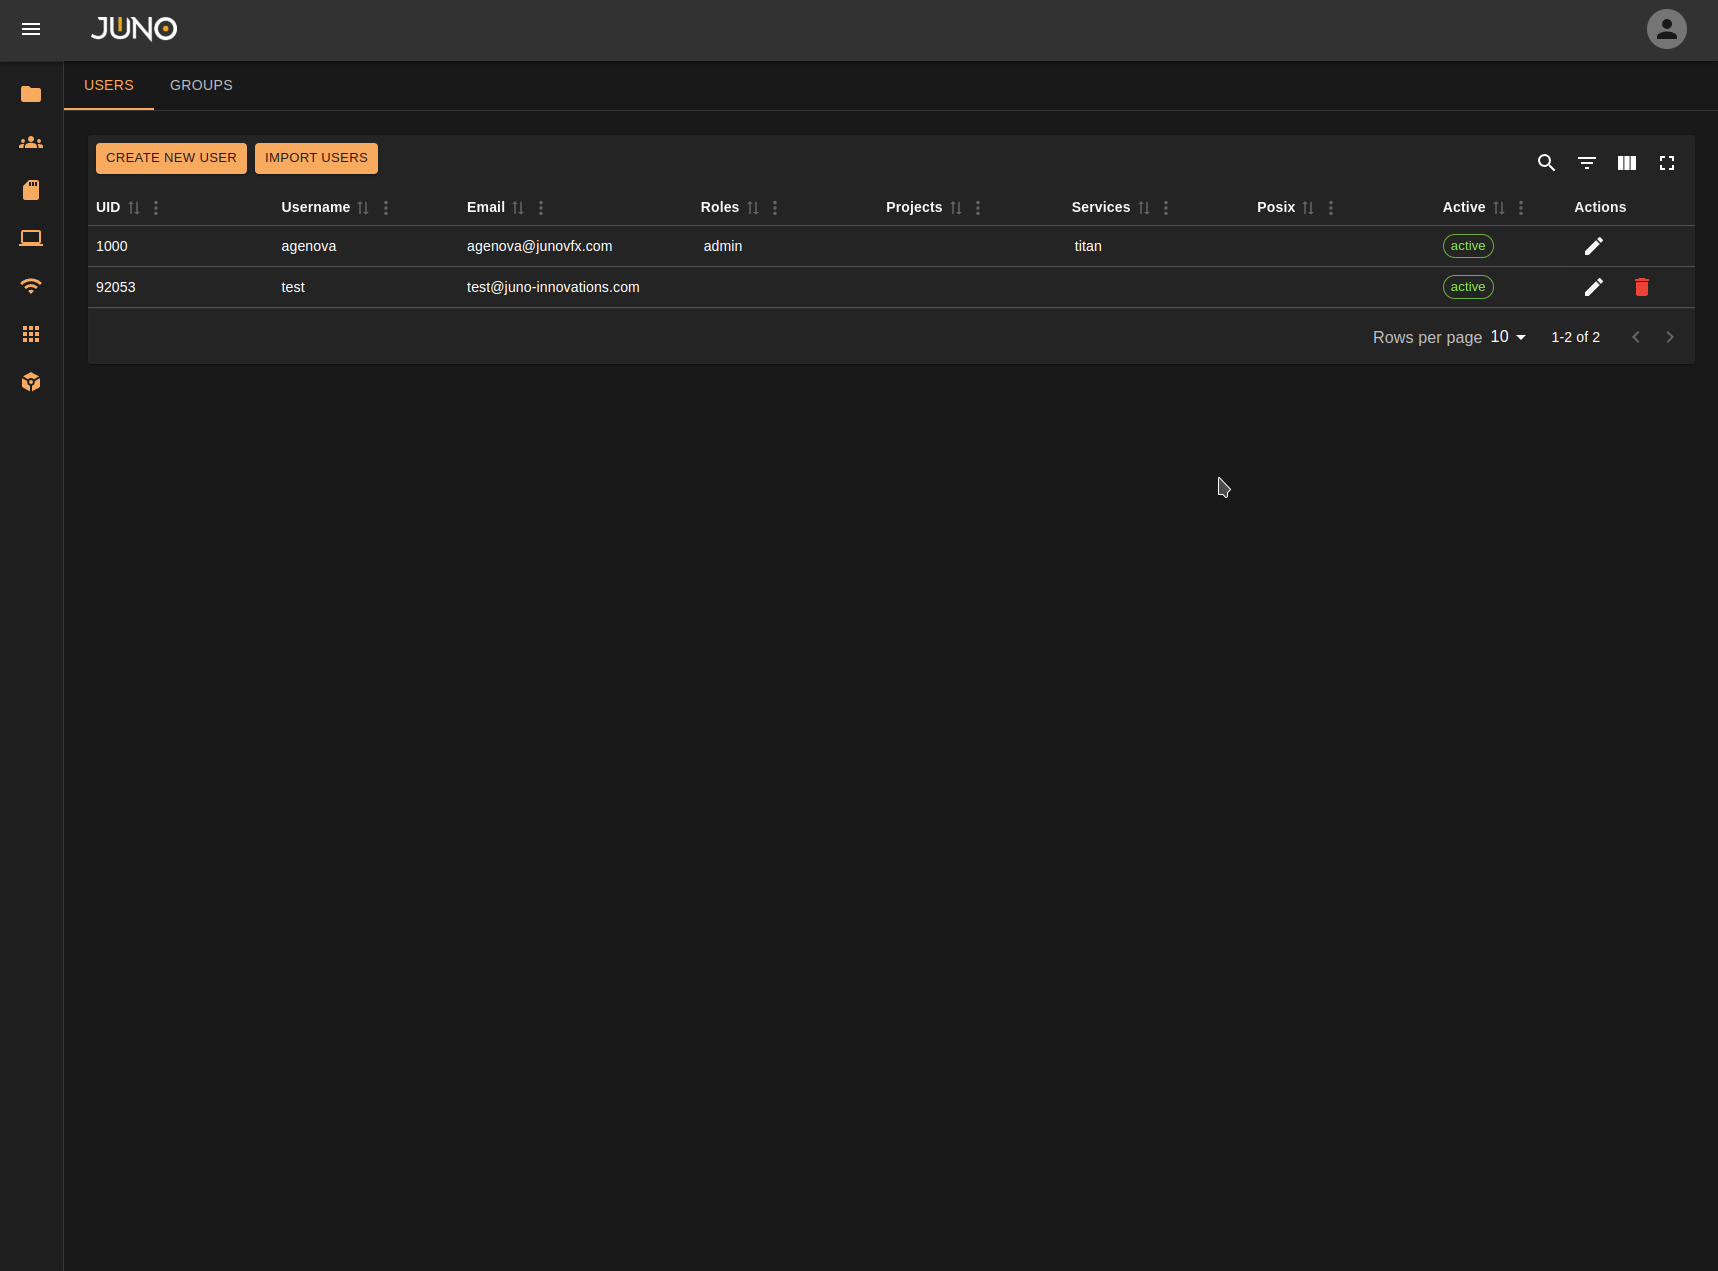
At the top left of the user table, there is a button labeled "CREATE USER." Clicking this button opens a modal with three fields that must all be filled out to create a user. Usernames must only contain lowercase letters, numbers, or hyphens, and cannot include capital letters or special characters.
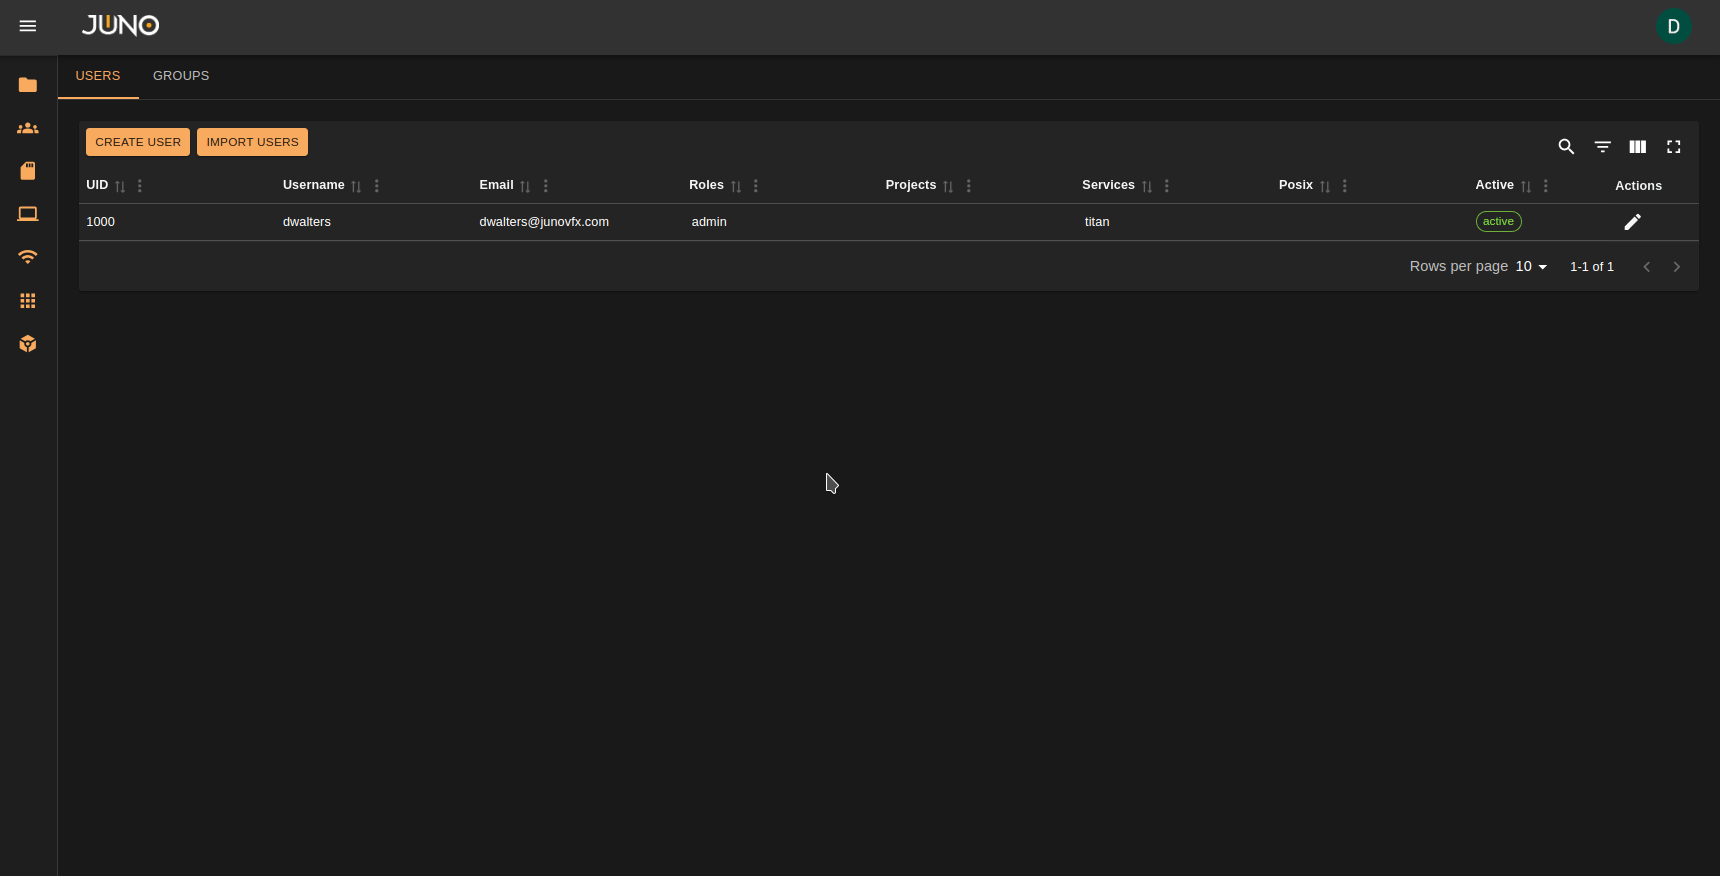
Import Users
You can import users via a CSV file or a JSON file.
CSV File Requirements
- The file must include three headers:
uid,email, andusername. - An optional active header can be included. If omitted, all users will be created as active by default.
Usernames,emails, anduidvalues must be unique within the file.- All rows must have non-empty values for
uid,username, andemail.
JSON File Requirements
- The JSON file must be a list of user objects. (See code snippet below for the JSON structure)
- The active field is optional and defaults to true for newly created users.
- All fields must have non-empty values; no blank fields are allowed.
- Duplicate values are not permitted in the JSON file.
[
    {
        "username": "newuser",
        "email": "newuser@newuser.com",
        "uid": 1234,
        "active": true
    },
    {
        "username": "newusertwo",
        "email": "newusertwo@newuser.com",
        "uid": 6789,
        "active": false
    }
]
CSV Import
JSON Import
Editing a User
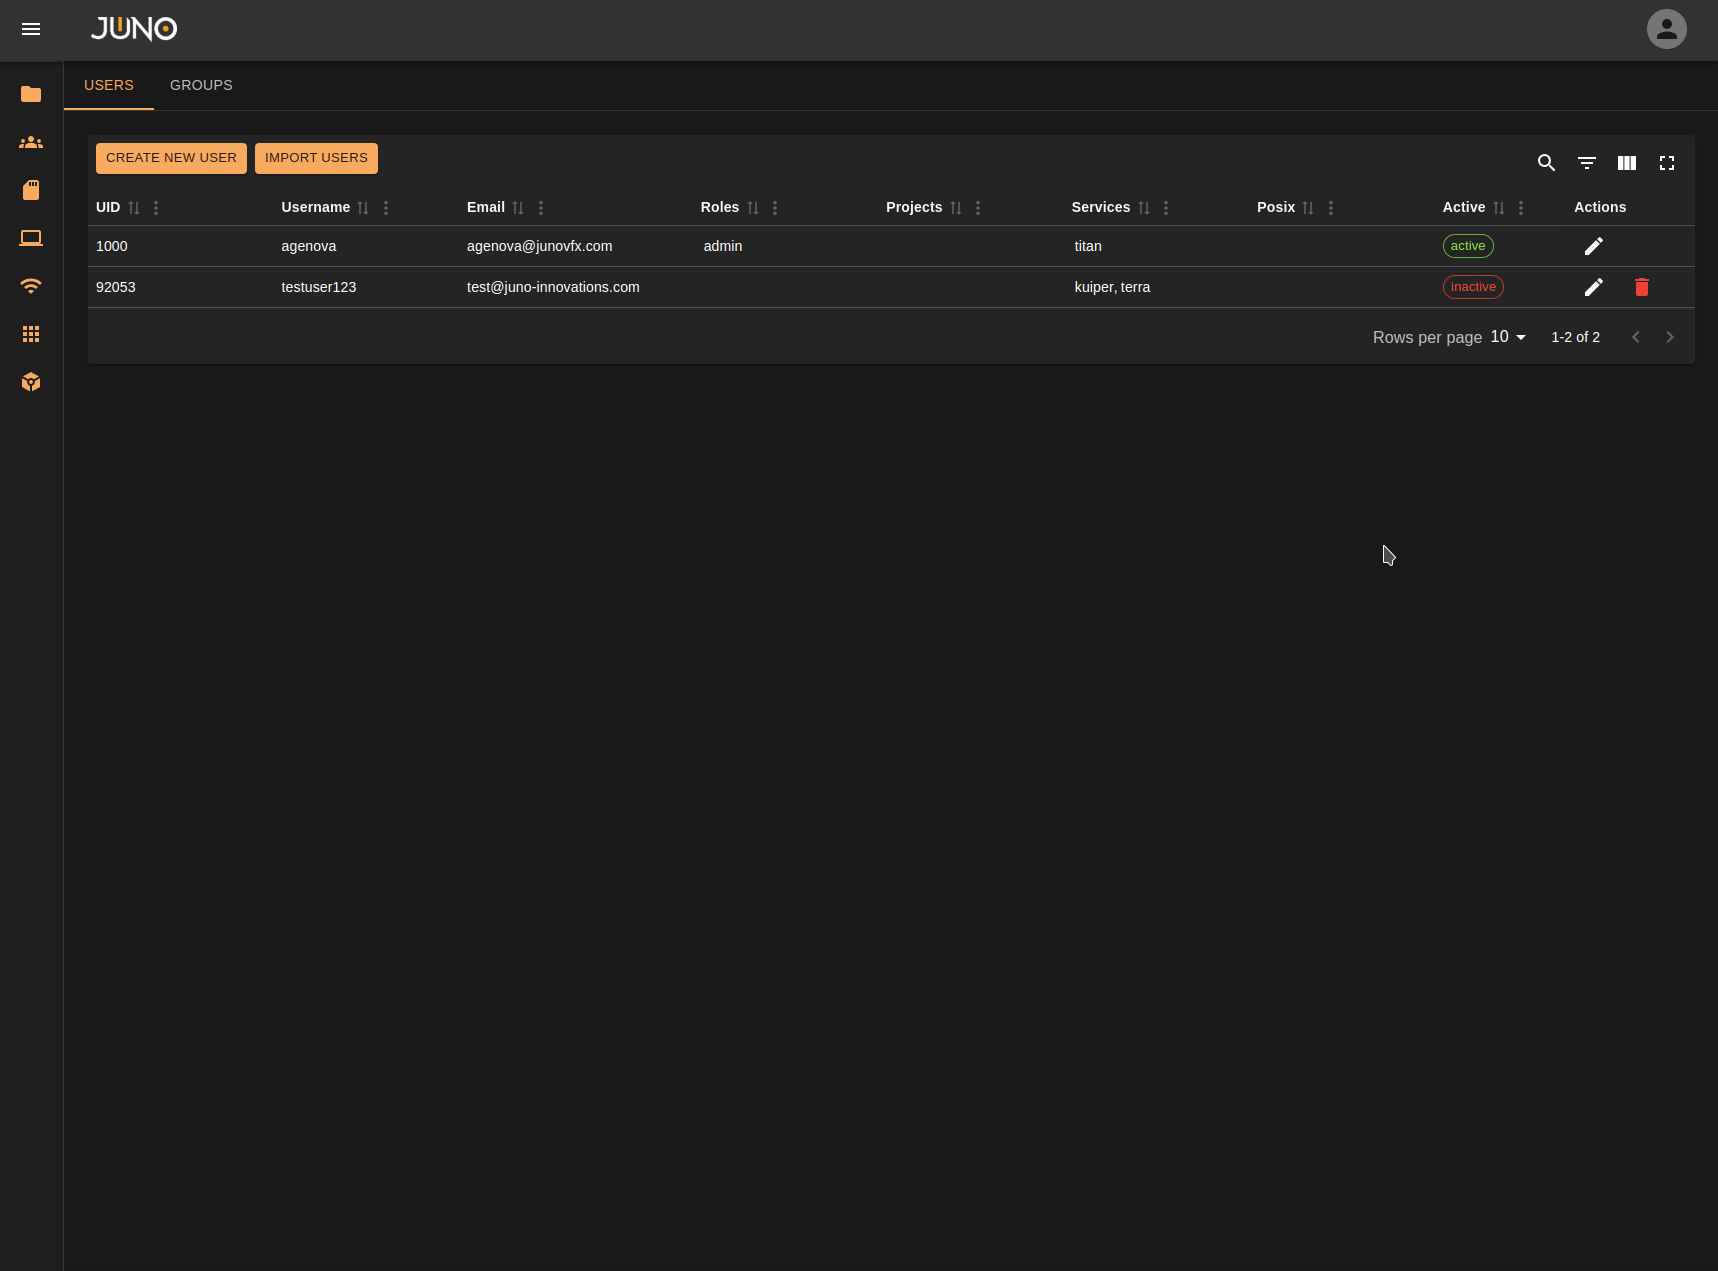
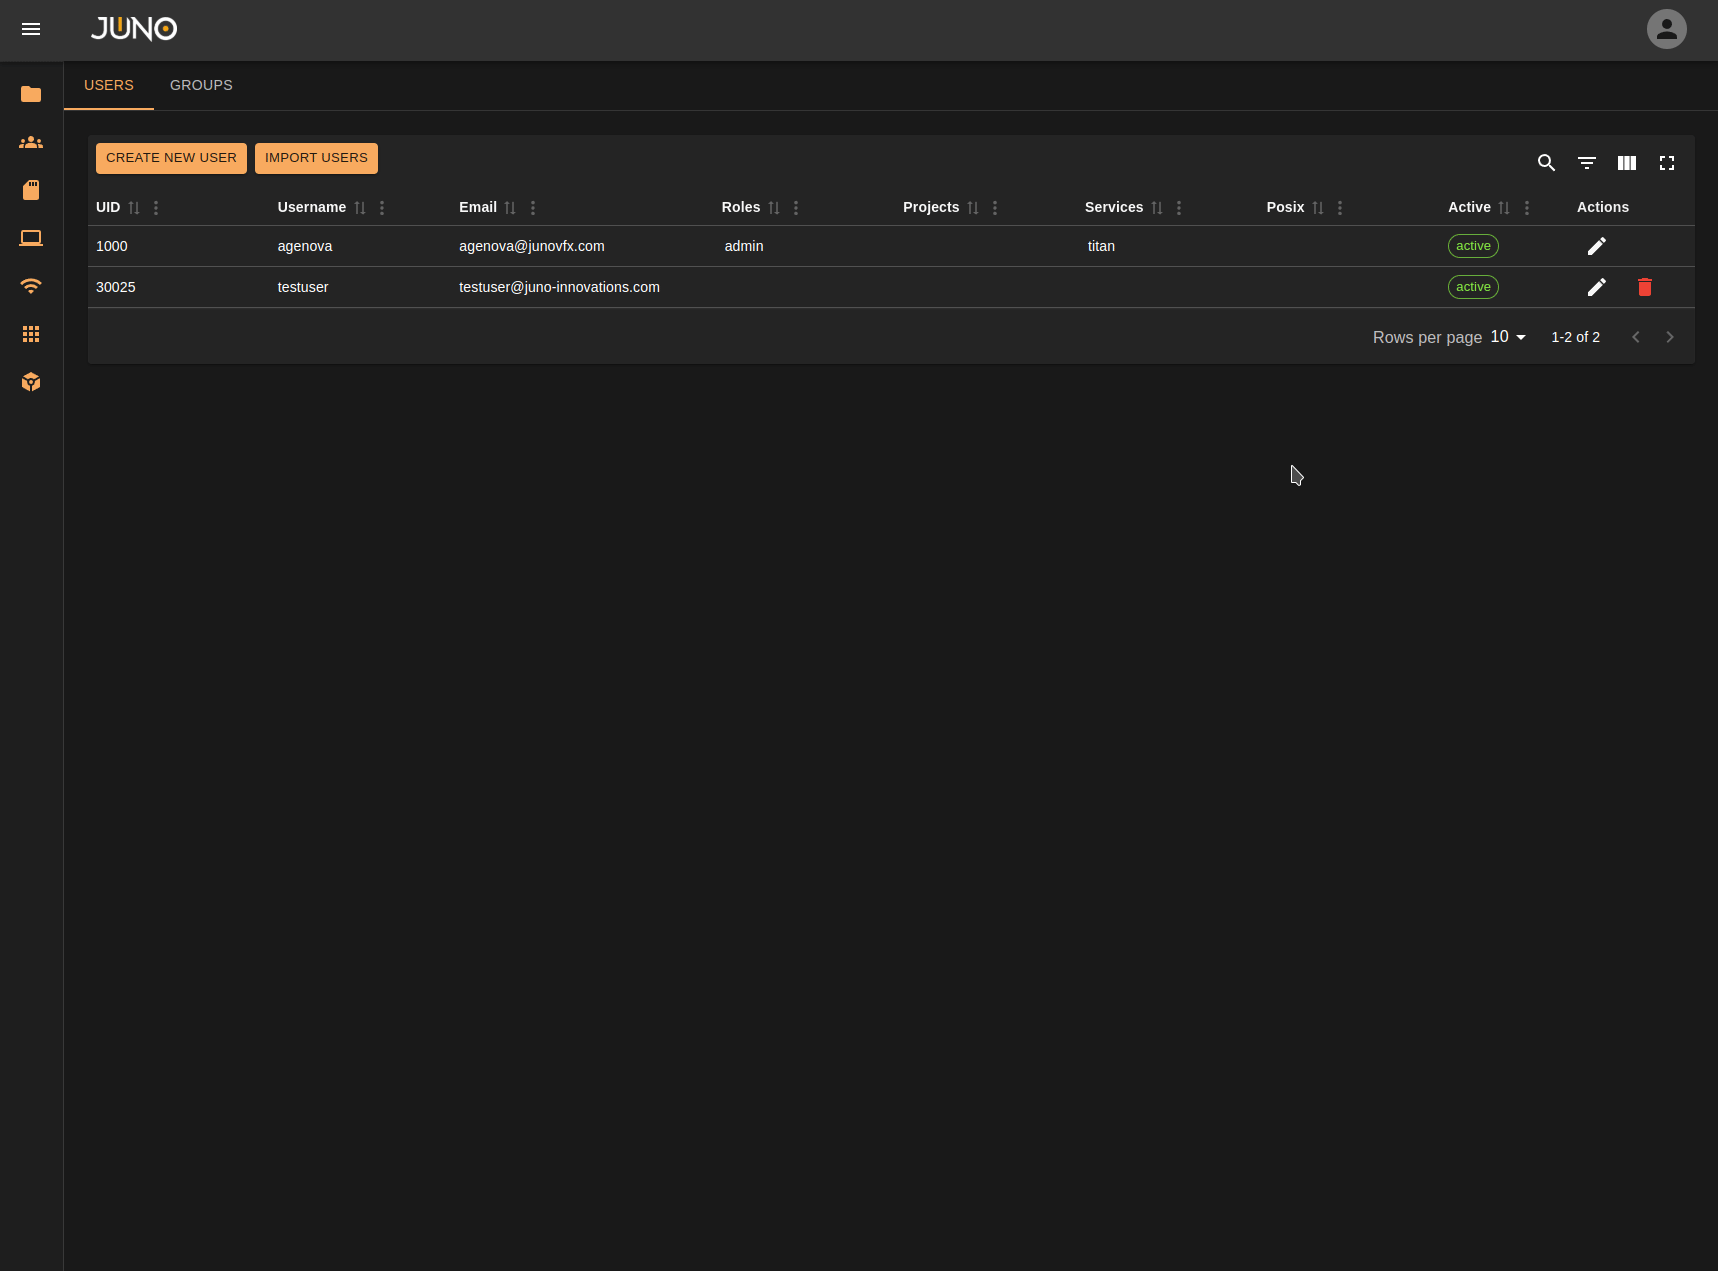
Each user can be edited by clicking the pencil icon at the end of their row.
Warning
You cannot modify the active status of your own user account; this must be done by another admin or titan role.
Edit User
User group assignment
There are four group types that a user can be assigned to. Once a user is created you have the ability in the user table to assign or unassign that user to existing groups. You can also assign multiple users to one group at a time in the group table
Selecting and Deselecting groups
Clicking the edit user pencil and choosing the desired group type opens a popup showing all
available groups for that type. Highlighted groups indicate the ones the user is currently assigned to,
while non-highlighted groups represent those the user is not assigned to. To select or deselect groups,
hold down Ctrl and left-click on the desired groups
in the popup.
Once you have made your selection, click the green checkmark button to confirm the changes.
Finally, ensure you click the save button at the end of the row to apply all changes to the user.
Using CTRL click to select/deselect
Selecting Multiple groups at once
Hold down Shift, click the first group in your batch selection, then click the last group. All groups between the first and last will be selected.
Using SHIFT click to multi-select
Group Creation
To view the groups table, select the groups tab in the top left of the usermanagement page. Click the CREATE NEW GROUP button, a pop up will appear with a drop down and group name input. You are only able to create the group type role or posix. Group names can only contain lowercase letters and hyphens, no special characters allowed

Group Types
| Group Type | Description |
|---|---|
| Role | User defined roles; no UID. |
| Posix | Allows users to have file/directory ownership. |
| Service | Created programmatically when a service is enabled; membership grants access to that service. |
| Project | Created programmatically during project creation; membership grants access to that project. |
Import Groups
You can import groups via a CSV file or a JSON file.
CSV File Requirements
- The CSV file must contain three headers:
uid,type, andname. If all your groups are of typerole, theuidcolumn is not required. For mixedroleandposixgroups, leave theuidfield blank forrolegroups. - Only two group types are supported for importing:
posixandrole. - All
posixgroup types must have auidvalue. - Duplicate group names and UIDs are not allowed in the CSV file.
- The
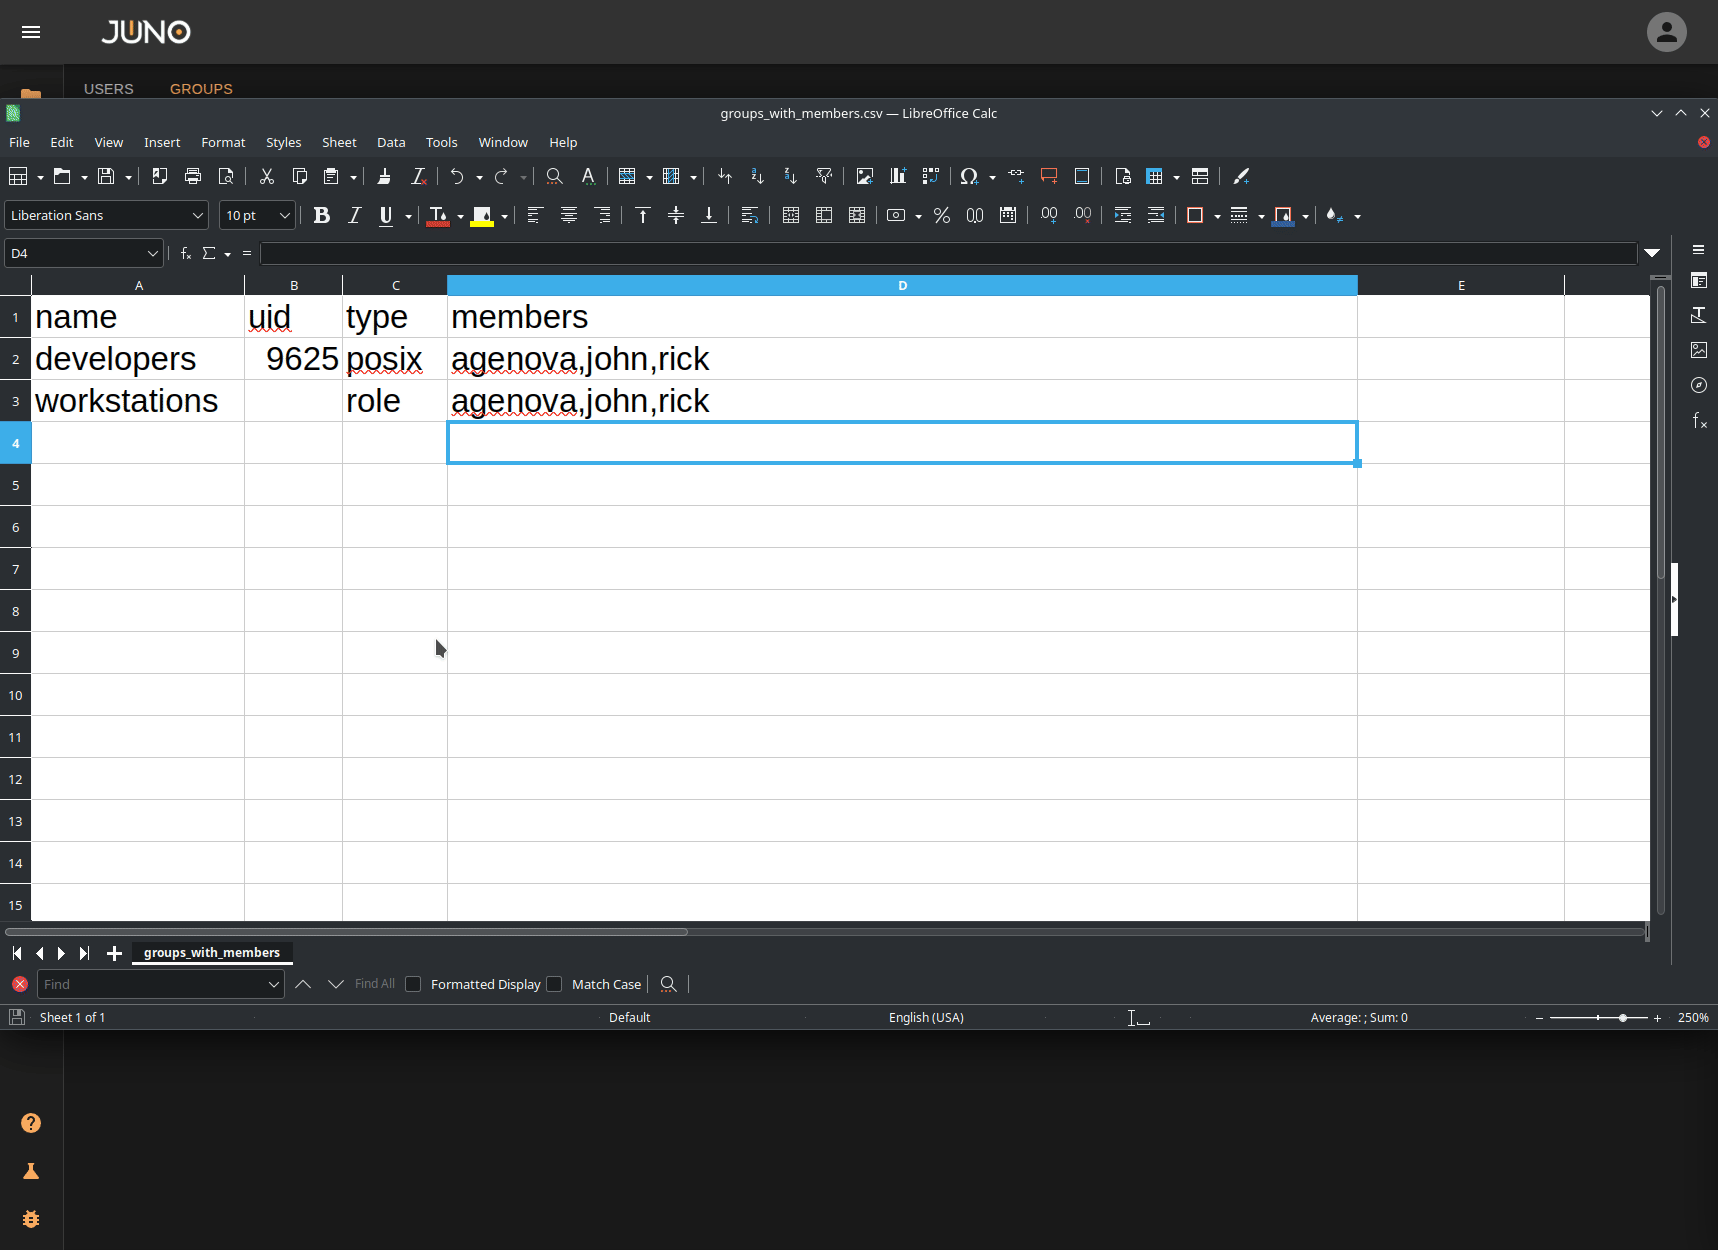
memberscolumn is optional. All listed members must already exist in the system. Usernames should be separated by commas. Both of the following formats are valid:
Valid CSV member list:
JSON File Requirements
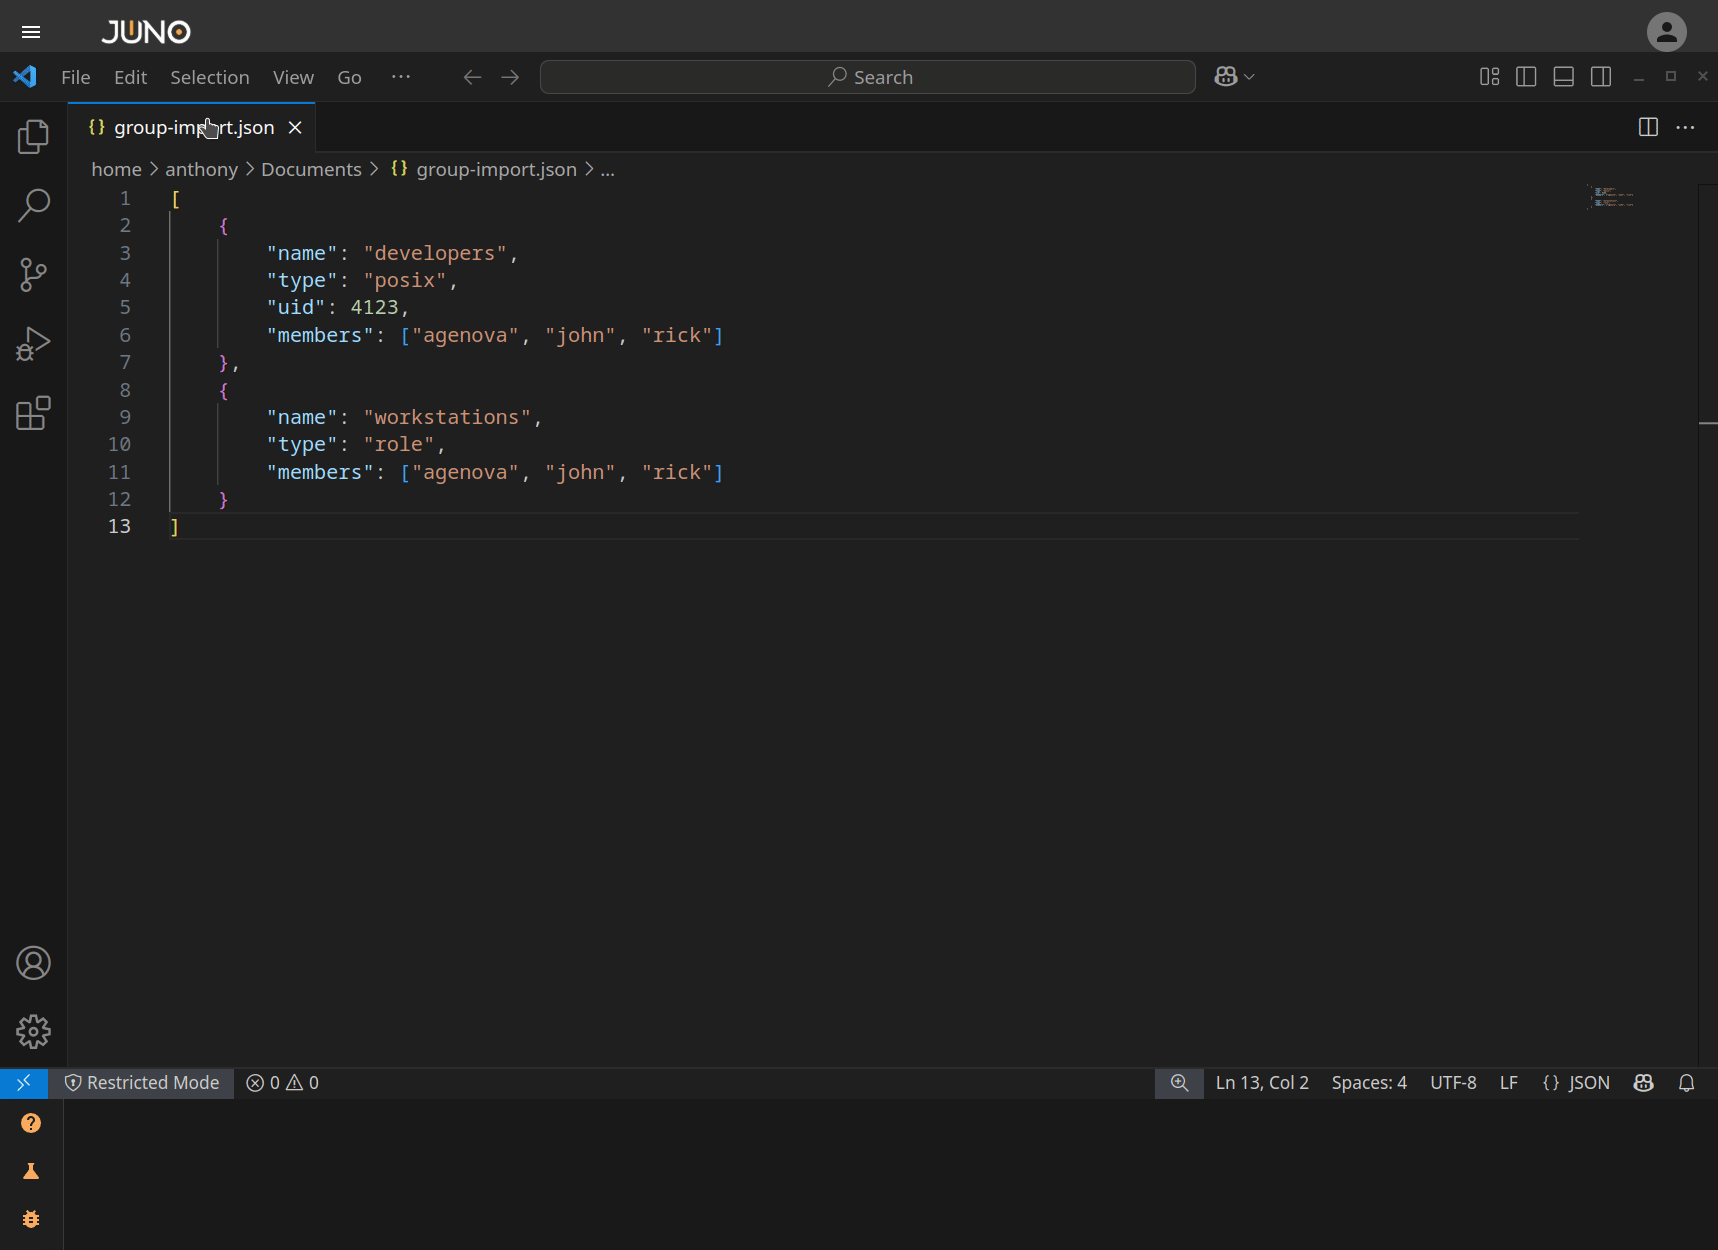
- The JSON file should contain a list of group objects. (See the code snippet below for the required structure.)
- The
membersfield is optional. - Groups of type
roledo not require auidfield. - All group names and UIDs must be unique; duplicate values are not allowed.
[
    {
        "name": "rolegroup",
        "type": "role",
        "members": ["userone", "usertwo", "userthree"]
    },
    {
        "name": "posixgroup",
        "type": "posix",
        "uid": 1234,
        "members": ["userone", "usertwo", "userthree"]
    }
]
CSV Import
JSON Import
Editing a Group
Once a group is created, Click the pencil Icon to edit the group, you then will be able to change the name and user assignment. Click the save icon to save your changes.
Warning
You are only able to edit the name and the users assigned to a group once it is created.
Assigning users to a group
To change what users are assigned to a group, Click the pencil icon on the group row to enable the editing. Then click on the user column which will display a popup. This pop up shows all available users. Highlighted users indicate the ones that are assigned to the group, while non-highlighted users represent those that are not assigned to the group. To select or deselect users, hold down 'Ctrl' and left-click on the desired user in the popup. Once you have made your selection, click the green checkmark button to confirm the changes. Finally, ensure you click the save button at the end of the row to apply all changes to the group.
Selecting and Deselecting users
Using CTRL click to select/deselect

Selecting Multiple users at once
Hold down Shift, click the first user in your batch selection, then click the last user. All users between the first and last will be selected.
Using SHIFT click to multi-select